
Blue Archive Binah Guide: Teams, Phases, and Counters
Beat Blue Archive Binah with Piercing teams, DEF debuffs, and well-timed staggers. Learn the phase changes and survival tactics for harder difficulties.
Jump to

How to Beat Binah in Total Assault
The Blue Archive Binah fight rewards three things: Piercing damage, reliable DEF reduction, and a stagger timed before a dangerous attack. Its three-minute limit puts pressure on your damage rotation, while its strongest skills can wipe out exposed students. Build around a main damage dealer, keep the boss’s DEF lowered, and watch both its groggy gauge and ATG gauge.
This guide covers the Heavy Armor version in Total Assault. Grand Assault has a separate version of the encounter.
Official page: Blue Archive (store.steampowered.com)
Weaknesses and Difficulty Stats
Binah has Heavy Armor throughout the Total Assault difficulty ladder, making Piercing students the damage picks to build around. Its DEF also climbs sharply: Extreme has 3,900 DEF, while Torment has 6,800. Bring DEF reduction alongside your damage buffs.
 Image: Steam / NEXON Games
| Difficulty | Recommended Level | Boss HP | DEF | Attack Type |
|---|---|---|---|---|
| Normal | 17 | 300,000 | 1,700 | Normal |
| Hard | 25 | 800,000 | 2,000 | Normal |
| VeryHard | 35 | 1,100,000 | 2,500 | Normal |
| Hardcore | 50 | 2,000,000 | 3,100 | Normal |
| Extreme | 70 | 4,500,000 | 3,900 | Normal |
| Insane | 80 | 7,700,000 | 5,000 | Penetration |
| Torment | 90 | 23,000,000 | 6,800 | Penetration |
| Lunatic | 90 | 50,000,000 | 7,200 | Penetration |
The attack-type change at Insane matters for survival. Review your students’ armor before carrying a lower-difficulty lineup into that tier, especially when a support student is taking repeated hits.
Piercing damage also fills Binah’s groggy gauge. Filling it stuns the boss for 10 seconds, creating a damage window and an opportunity to interrupt an attack. Treat that gauge as part of your defensive plan.
Team Building: Damage, DEF Reduction, and Support
Choose your main attacker around terrain and the students you have invested in:
 Image: Steam / NEXON Games
- Neru (School Uniform): A leading damage option on both terrains. Her EX Skill has a high hit count, and repeated EX uses increase its damage through her Sub Skill.
- Mika: Strong on both terrains, including Urban despite her unfavorable mood. Every hit crits through her Sub Skill, and her EX damage scales with the target’s remaining HP.
- Kayoko (Dress): An Urban damage option whose EX ignores part of the boss’s DEF. Her guaranteed critical damage depends on Infiltration, which activates after she avoids taking damage for 10 seconds.
- Yuzu: An Urban option with powerful EX damage that depends heavily on landing a critical hit.
- Maki: Provides DEF reduction alongside damage, with stronger terrain performance Outdoors. Her Elephs are available through the Total Assault Shop.
For Kayoko (Dress), keep incoming attacks away from her so she can maintain Infiltration. For Mika, prioritize her when assembling your opening team, where Binah starts with more HP.
Choose Your DEF Debuffer
| Student | DEF Reduction | Additional Detail |
|---|---|---|
| Kanna (Swimsuit) | Up to 47.8% | Premier dedicated DEF reduction option |
| Akane | Up to 37.7% | Total Assault Shop option; can tank up to Insane at UE40 |
| Fuyu | Up to 47.2% | Alternative or secondary debuffer with Special Armor |
| Noa | Up to 40.5% | EX debuff lasts 40 seconds |
| Shiroko (Swimsuit) | Up to 34.2% | Also reduces opening skill costs |
Use Maki’s debuff as part of your damage setup, and choose your other DEF reduction tools around cost, duration, and survival. Noa’s longer duration helps keep the effect active, but her Special Armor gives her less tanking capability than Akane or Kanna (Swimsuit).
Put the Remaining Slots to Work
Ako supplies Crit and Crit DMG buffs plus occasional healing. Himari provides a large ATK buff. Fuuka (New Year) reduces one student’s EX cost for one use and adds Crit DMG, while Seia halves a Striker’s EX cost for two uses and provides Cost Recovery.
Build around a main attacker, DEF reduction, and damage buffs, adding a dedicated tank when incoming damage threatens your team. Choose individual students to suit your roster and the difficulty’s survival demands.
From Torment onward, bring a tank to handle the laser and its lingering damage. Eimi offers high DEF and gains a Basic Skill self-heal with her T2 Unique Gear. Haruka and Mine both have EX Skills that reposition them; Mine also supplies DEF reduction.
Fight Phases and Transition Timing
Binah changes position and behavior as its HP falls. Plan your skill use around those transitions so your damage and defensive tools are ready when combat resumes.
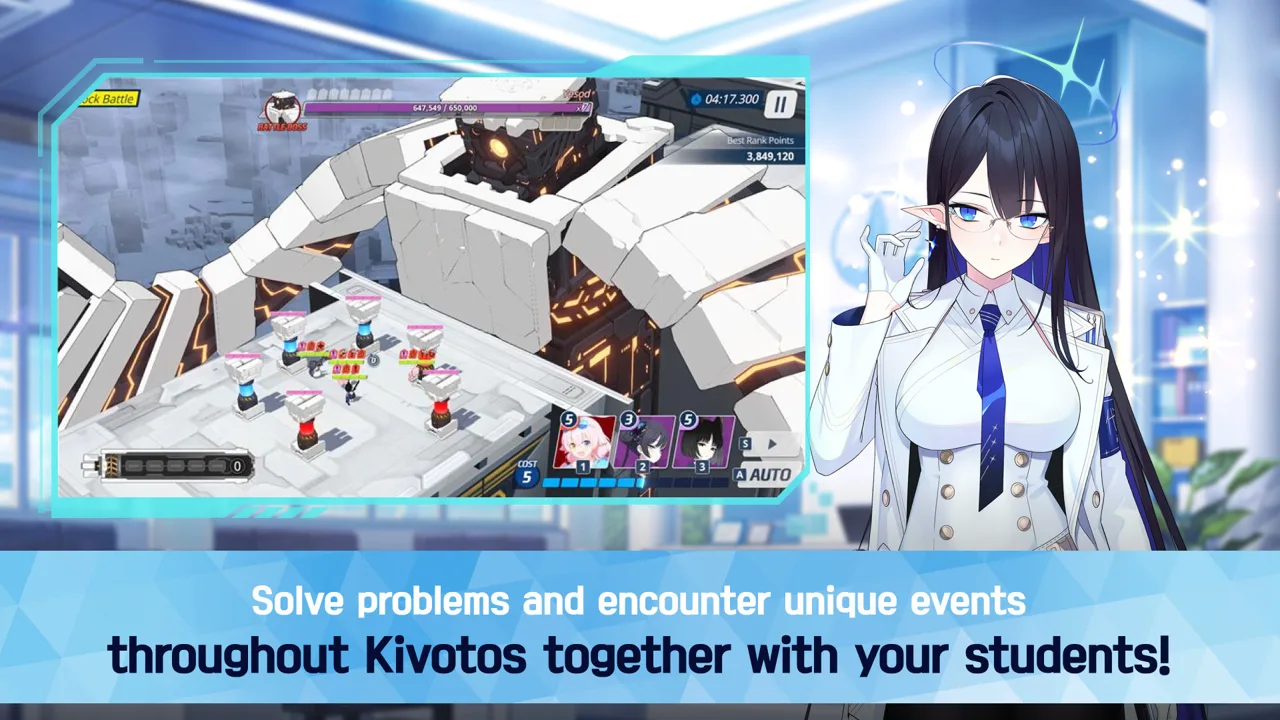 Image: Steam / NEXON Games
| Phase | HP Range | What Changes |
|---|---|---|
| Phase 1 | Above approximately 60% | Opening damage rotation and groggy buildup |
| Phase 2 | Approximately 60%–20% | Binah burrows, and your students chase it to a new position |
| Phase 3 | Below approximately 20% | A cutscene starts the final phase, where Purifying Storm becomes a major threat |
Phase 1: Establish Your Rotation
Apply DEF reduction and time your damage buffs around your main attacker’s EX Skill. Watch how quickly Piercing damage fills the groggy gauge.
On Torment and Lunatic, ATG already accumulates during this phase, although slowly. Keep it in view while working through your opening rotation.
Phase 2: Rebuild After the Move
At roughly 60% HP, Binah burrows and forces your squad to relocate. Check the formation after the chase, particularly which student is closest to the boss and where the laser will travel.
ATG builds faster here on Torment and Lunatic than in the opening phase. Compare its progress with the groggy gauge before committing your next damage sequence.
Phase 3: Prepare for Purifying Storm
Below roughly 20% HP, the final phase begins. Binah uses Purifying Storm when its ATG gauge fills, dealing teamwide damage and lowering your students’ DEF by 50% for 30 seconds.
Time a groggy stun to interrupt the attack. Letting it land creates two problems: the initial damage and a DEF debuff that makes subsequent hits more dangerous.
On Torment and Lunatic, if a second groggy occurs before ATG fills during Phase 2, ATG resets at the transition into Phase 3. Reassess both gauges after the transition.
Dangerous Attacks and How to Handle Them
Atsilut’s Light
This laser damages students in a line. On Torment and higher, it also leaves damaging fire in the affected area.
Bait the laser with your tank and keep its line away from vulnerable students. Use a repositioning tank’s EX Skill to adjust the angle when needed. Protect Kayoko (Dress) from these hits if she is your attacker, since taking damage disrupts her Infiltration setup.
Fires of Severity
The updated attack deals damage across the team, then applies additional damage to the four closest Strikers. The nearest Striker receives the largest additional hit.
Put a durable student closest to Binah. Tactical Supports and summons do not draw away the updated Striker-targeted portion, so build your formation around the students themselves.
On higher difficulties, time a stagger to interrupt this attack when your team cannot survive it. Watch the groggy gauge before the cast rather than waiting until students are already taking damage.
Purifying Storm
This gauge attack hits the whole team and applies its DEF debuff. On lower difficulties, the threat centers on the final phase; on Torment and Lunatic, ATG generation throughout the encounter requires earlier attention.
Use Piercing damage to complete the groggy gauge before the attack resolves. Reserve your strongest defensive attention for the moments when ATG is nearly full and a stagger is still out of reach.
Insane, Torment, and Lunatic Mechanics
From Insane onward, the updated Heavy Sandstorm changes how cover works: covered students take 50% less damage from Binah, but cannot evade its attacks while covered. Build your survival plan around that damage reduction.
On Torment and above, Binah is immune to Attack Speed reduction. Spend team slots on damage, DEF reduction, buffs, and survival instead.
Lunatic adds 50% Piercing Effectiveness to the boss, increasing the danger for Heavy Armor tanks such as Hoshino (Battle). Choose your tank with that matchup in mind.
Lunatic also introduces Vision of the Hidden. When Binah becomes groggy, the fire zone created by Atsilut’s Light disappears, and your team gains 600 Cost Recovery for 10 seconds. Time that stagger to interrupt a dangerous cast, clear the fire, and fund your next EX rotation.
Continue exploring

Popular pages

Blue Archive Tier List: Best Students and Fest Picks
Use this Blue Archive tier list to compare top damage dealers, raid supports, and Fest selector picks, then choose the student your roster needs the most.
Blue Archive Characters: Schools, Roles, and Variants
Meet Blue Archive characters through their schools, roles, and alternate versions. Explore Hina and Rio's skills, team utility, and relationship stories.
Blue Archive Banner Guide: Rates, Pity, and JP Schedule
Plan Blue Archive banner pulls with JP schedule dates, recruitment rates, Global spark rules, and Japan's carryover pity system before spending Pyroxene.
Blue Archive Download: Official PC and Mobile Guide
Find your Blue Archive download for Windows, iOS, or Android. Explore official download options, PC requirements, supported languages, and game features.
Join the community
Official channels for news, updates and player help: